October 21, 2026
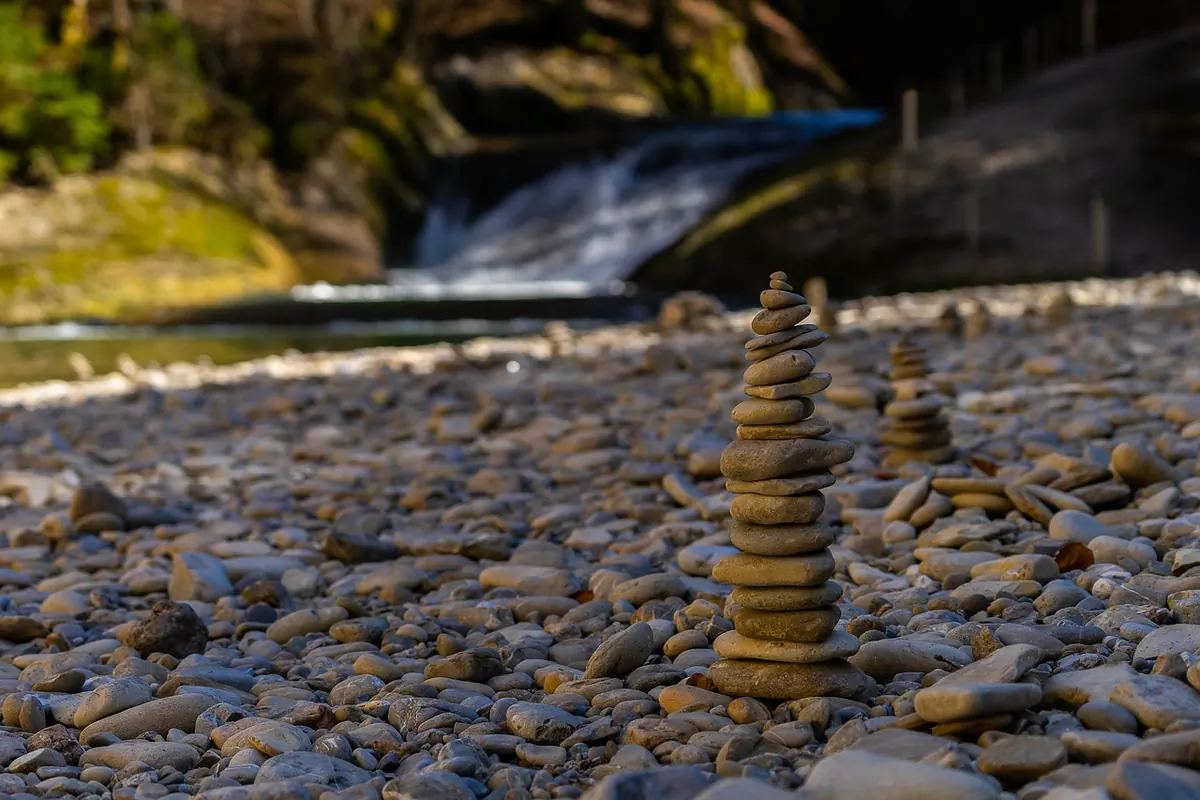
A river stone has already been edited by the water: rounded by decades of current, sorted by weight, dropped in the places where the flow slowed. That is both a gift and a constraint for mosaic work. The gift is honest material with no sharp edges and a surface that reads beautifully under varnish or wax. The constraint is that you are not cutting tesserae to fit a drawing — you are drawing around shapes you did not choose. Most of the real work happens before any adhesive is opened: understanding the stones you have, cleaning them without wrecking their surface, protecting your lungs and hands, and laying the whole design out dry until it convinces you.
Read the Stones Before You Design With Them
Empty your bag onto a plain surface in daylight and sort by size into three or four piles. You will quickly notice that the material has a natural hierarchy: a handful of large, characterful stones, a broad middle range, and a heap of small chips that will do the quiet work of filling gaps and making transitions.
Test a few of the larger pieces before committing them to a panel. A scratch with a steel nail tells you roughly how hard the stone is; if it marks easily, it will also wear and stain easily, so keep it indoors. Tap two stones together — a dull thud with grit falling off means an internal fracture, and that stone will split when it gets wet or when you press it into adhesive. Look for hairline cracks, rust veins, and chalky patches. Drop a doubtful stone into water for a minute: porous stones darken fast and hold moisture for days, which matters later for frost and for adhesion.
If you plan to collect rather than buy, check the rules where you walk. Many rivers, parklands and protected banks restrict or prohibit stone removal, and taking a few loose stones from a beach is not the same as quarrying a bank. Small quantities of surface stone from permitted areas is the sensible default.
Cleaning Without Destroying the Surface
Start dry. A stiff brush removes loose sand, dried silt and organic matter, and it lets you see what you actually have. Then wash in a bucket of warm water with a drop of mild dish soap, working each stone with a soft brush or your thumb. Skip the wire brush on soft stones; it gouges a river-worn face that took years to form.
Acid is where most beginners go wrong. Vinegar and commercial descalers etch limestone, marble, and anything calcium-based, leaving a dull, pitted skin that grout will stain permanently. If you are unsure what you have, test one stone and wait a day. Diluted bleach will kill algae and moss on hard, non-porous stones, but rinse thoroughly and dry completely — residue interferes with adhesive, and trapped moisture under a glued stone is a slow path to failure.
Dry everything on a rack in open air for at least a few days, longer for thick or porous pieces. A stone that looks dry on the surface can hold water in its core for a week. Never tumble stones meant for mosaic: the whole point is the worn face, not a polished one.
Safety at the Bench
Stone work is dusty, heavy, and occasionally sharp, and each of those has a straightforward answer.
- Dust. Cutting, chipping or sanding stone produces fine silica dust that is harmful to breathe over time. Work wet whenever you can, keep a spray bottle handy, and never dry-sweep the bench. If you must cut or grind, use a properly fitted respirator rated for fine dust, work outdoors or with real extraction, and clean up with a damp cloth.
- Hands and eyes. Wear gloves when sorting and handling rough material, and eye protection when chipping or snapping stone. Found material often hides fragments of glass, ceramic and metal — check each stone for jagged inclusions before it goes near your design.
- Weight. Stone mosaics get heavy fast. A panel around 60 by 90 cm can weigh far more than you expect, so decide on a substrate, backing board, and hanging method before you start, and build on a table at working height rather than on the floor.
- Posture and pace. Short sessions beat marathon ones. Set the panel so your wrists are neutral, and stand up every half hour.
If you have a respiratory condition or reduced grip strength, it is worth talking to your doctor before taking on a large stone panel. There is no prize for pushing through.
Planning Value, Palette and Shape
River stones are rarely colourful in the way glass is. Their strength is value — the range from near-black wet slate to pale chalky limestone — and texture. Group your piles by tone rather than by name: lights, mid-tones, darks, and the few odd stones worth building a design around.
Limit yourself. Three tonal families plus one accent will read more clearly than ten shades fighting each other. Squint at your sorted piles; if the light, mid and dark groups blur together, your mosaic will too, and you need either stronger contrast or a different arrangement.
Choose a subject that suits the material. Water, spirals, fish, leaves, birds, moons, and simple geometric medallions all work because they are built from curves and repeating shapes. Faces and lettering do not — they demand precision that irregular stones cannot give.
Laying Out the Design
Draw your design full size on paper or directly on the substrate with a soft pencil, then lay the stones dry on top. The pattern should follow the form — mosaicists call this andamento, the direction in which the pieces flow. In a river motif, let the long axes of the stones lie along the current; in a sun, radiate them outward. Stones that ignore the flow look like scattered gravel.
- Block in the big shapes first. Place your largest and most distinctive stones, then fill around them. Doing it the other way round leaves you forcing small chips into places that wanted a bold piece.
- Outline with your darkest or lightest stones. A line of dark stones along the edge of a form gives the eye something to hold, and lets you cheat the interior.
- Work in small zones. Fill one area completely before starting the next, so the texture stays consistent.
- Keep gaps consistent. Aim for roughly 2–4 mm between stones, tighter in fine detail. A gap that wanders between 1 mm and 10 mm will show up as soon as the grout goes in.
- Photograph it and wait a day. A phone photo flattens the design and exposes weak spots. Leave the dry layout overnight, then move two or three stones on instinct. That small adjustment is usually the difference between a decent panel and a good one.
Fixing the Layout in Place
Use a substrate that can carry the weight and survive moisture: cement backer board, well-sealed exterior plywood, or a concrete paver for outdoor work. Avoid glass, MDF and thin craft board. For adhesive, a modified thinset or a stone-rated construction adhesive is reliable; white craft glue is fine only for light indoor pieces on a rigid base.
Because stones vary in thickness, apply adhesive generously and press each one down to a consistent height, checking with a straight edge across the panel as you go. Wipe any squeeze-out immediately. When the adhesive has cured, grout with a sanded grout mixed to a slurry consistency, push it in with a rubber float, and clean the surface with a damp sponge before it sets too hard. Test your grout colour on a scrap of similar stone first — grey grout darkens pale stones, and charcoal gives everything a moodier, more graphic look. For outdoor panels, slope the piece slightly so water runs off, and choose frost-resistant materials.
A Small First Panel, Then a Bigger One
Start with something around 30 by 40 cm — a single fish, a spiral, a moon over a stone river. It is big enough to teach you the whole process and small enough to finish in a few evenings, and you will learn more from one completed small panel than from three abandoned ambitious ones.
Before you glue anything, run through the practical order once more: stones cleaned and bone dry, dust controlled, substrate and hanging method decided, layout photographed and left overnight, adhesive and grout ready before the first stone goes down. Then work slowly, one zone at a time, and let the material make some of the decisions. The river already did the hardest part of the shaping.
Photo: 2780243 / Pixabay