October 06, 2026
A river panel is mostly blue and green, and both colours are fragile in the same way: they go dull the moment something pale or grey sits beside them and competes. You can spend a week choosing the right teal. Then a bag of grout flattens it in an afternoon. No cracks, no failure, no dramatic warning — just a panel that reads chalky from two metres away instead of wet.
Grout is not a neutral filler. It is a design decision made of pigment, joint width and timing, and it is usually the last one you make. These are the ten mistakes that most often steal the light from river-inspired work, and what to do instead.
Mistakes 1 and 2: Letting Grout Colour Set the Palette
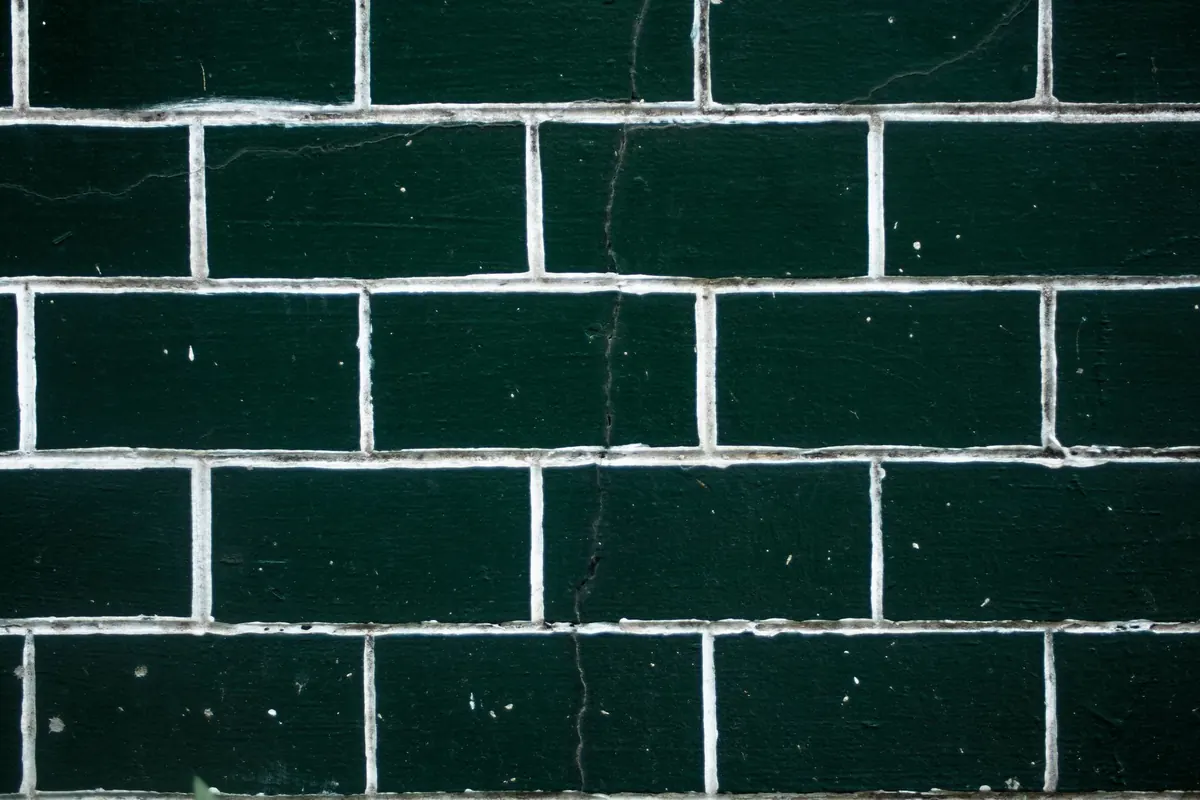
Bright white grout is the default in most buckets, and on a river panel it is almost always wrong. White lines build a lattice of light that lifts the apparent value of every tile around them. Your deep teal reads mid-blue. Your slate grey reads silver. From across the room the mosaic looks bleached, as though the sun has already done its work.
Going the other way is just as risky. Charcoal grout around pale aqua tesserae turns a shallow riffle into stained glass — heavy outlines that describe each tile instead of letting neighbouring pieces merge. Water does not have outlines.
The reliable middle ground is a grout within one or two steps of the average tone of the surrounding field. Not a match to any single tile, which produces a flat, printed look, but a match to the field's overall value. The lines then recede and the andamento does the talking.
Choose on evidence, not on a colour chip. Build a sample board of roughly 10 cm square using the actual tesserae, the actual joint width and two or three grout candidates. View it from two metres, in the light the piece will live in. A north-facing wall and a sunny windowsill are different worlds.
Mistake 3: Joints Wide Enough to Drown the Detail
River effects live on density. A joint of 1.5 to 2 mm keeps the eye moving along the current; a 5 mm joint gives every tile a moat and the current stops dead. Wide joints also expose more grout surface, and grout is the matte, dusty element in the composition. The more of it you show, the less light your glass and smalti return.
Narrow joints demand discipline. Pack the grout with a rubber float held at about 45 degrees, work diagonally across the andamento in both directions, and check for voids rather than assuming. Narrow joints are where air pockets hide, and one white, powdery pocket in the middle of a dark pool is impossible to ignore afterwards.
If structure forces wider joints — a floor panel, an outdoor piece, a substrate that moves — accept that grout will be more visible and choose its colour with that in mind. On floors, a grout one shade darker than the field keeps the composition reading as water rather than as tiles.
Mistakes 4 and 5: Wet Mixes and Impatient Timing
Grout mixed to the consistency of thick paint feels lovely to apply and is a slow disaster. Excess water weakens the grout, increases shrinkage, drives pigment to the surface and multiplies haze. The result dries pale and chalky, the exact opposite of the saturated look you want beside glass.
Aim for moist soil or soft peanut butter: it should hold a ridge when you drag a stick through it. Measure water in the same cup for every batch, add it in small increments, and let the mix slake for the ten minutes the bag usually recommends before a brief remix. Small batches beat one big tub you have to keep stirring and topping up.
The second timing error is grouting too early. Adhesive needs to cure before it is sealed behind grout. Trust the manufacturer's figure rather than your schedule; often that means the next day, not the same afternoon. Grout over uncured adhesive and you trap moisture, which can surface weeks later as pale efflorescence blooming across your deepest blues. Cold, damp rooms slow everything down. Wait.
Mistakes 6 and 7: Haze Left Too Long, Tools That Scratch
Haze is easiest to remove in a narrow window. Start cleaning when the grout is firm but still soft to a thumb press — usually fifteen to thirty minutes after you finish packing, sooner in warm dry air. Work diagonally across the joints with a damp sponge, not a wet one, rinse it often, and change the water before it turns milky. Two or three passes beat one aggressive scrub. Never dry-wipe: that pushes powder into the joints and smears it across the faces.
Then there are the tools people reach for in frustration. Wire brushes, scouring pads and acidic cleaners all leave micro-scratches that scatter light, which reads as permanent haze no matter how clean the surface is. Acid also attacks cement grout and can etch glass, stone and metallic finishes. If you need a proprietary haze remover, dilute it as instructed and test it on an offcut first. For stubborn joints, a soft nylon brush and patience will do more than anything abrasive.
Mistakes 8 and 9: Grout Chemistry That Fights the Tile
Sanded grout on polished glass, smalti or mirror is a scratch waiting to happen. Below about 3 mm joint width you want unsanded grout anyway — it packs into fine joints more cleanly and does not abrade the tile edges. On high-gloss or iridescent surfaces, a grout release product can keep grout from bonding to the face, which is handy in deep texture where a sponge cannot reach.
Epoxy grout is a different animal: strong, stain-resistant, no efflorescence, and no sealing required. It also sets fast, cleans differently, and some formulations amber over time under strong sunlight, which pulls blue-greens toward olive. If you use it, work in small areas and change your cleanup water often.
One more related slip: sealing the tiles themselves. Glass and glazed surfaces do not need sealer, and sealer left on a face becomes a film that dulls the finish. Seal the grout if the situation calls for it, not the mosaic.
Mistake 10: One Flat Grout Colour for the Whole River
Water modulates. Deep channels are darker than riffles; foam lines are lighter than the pool beside them. A single grout tone across an entire panel is safe, and it is also why some river mosaics end up looking like a map of a river rather than the river itself.
Try two or three tones built from the same base grout, blended dry in labelled tubs: one darker for the deep channel, one matching the field, one a shade lighter for shallows and foam. Sketch the zones before you mix anything. Keep the differences small — half a step each, not a leap — and stop at three. Beyond that you are drawing with grout instead of tile, and the mosaic starts to look striped.
A useful trick: choose the grout that matches your tiles when they are wet. Glass and smalti deepen dramatically under water, and a finished piece generally reads closer to that wet colour than to the dry chip in your hand.
Before You Open the Bag
A short checklist worth keeping beside the workbench:
- Sample board grouted, cured and judged from two metres in the real light.
- Grout tone within one or two steps of the field's average value.
- Joint width decided per area — narrow for detail, wider only where structure demands it.
- Adhesive fully cured to the manufacturer's stated time.
- Water measured, mix slaked, consistency like moist soil.
- Small batches only; never loosen stiffening grout with extra water.
- Packed diagonally, voids checked under raking light.
- Cleanup started while the grout is firm, with damp sponges and fresh water.
- No acid, no abrasives, no wire brushes on glass or smalti.
- Tonal zones mapped and tubs labelled before mixing; leftovers kept for touch-ups.
Grout is the last five percent of the work and it decides how the other ninety-five percent reads. Get the colour, the joint and the timing right, and the blues stay blue, the greens stay wet, and the river keeps moving long after the bucket is empty.
Photo: Nothing Ahead / Pexels